From Bean to Bar: A Step-by-Step Guide to Making Your First Chocolate with a Melanger
Making chocolate fr om scratch may seem like an art reserved for professionals, but with the right tools and techniques, you can craft premium bean-to-bar chocolate at home or for your business. This guide walks you through every step, from selecting cocoa beans to achieving that perfect glossy finish.
With a high-quality melanger, the bean-to-bar process becomes accessible, efficient, and incredibly rewarding. This guide will walk you through the key steps so you can start crafting real artisan chocolate at home or in your business.
Essential Tools for Bean-to-Bar Chocolate
Before you begin, it’s essential to have the right ingredients and equipment.
- Premium Cocoa Beans – Choose high-quality, well-fermented beans for a richer flavor.
- Cocoa Butter – Enhances smoothness and mouthfeel.
- Sugar – Adjusts sweetness to your preference.
- Melanger – The heart of the process, transforming nibs into silky chocolate through grinding and conching.
- Cocoa Bean Crusher and Winnower – Helps crush and separate shells fr om nibs efficiently.
- Tempering Tools & Molds – To give your chocolate that perfect glossy finish.
Step 1: Selecting & Preparing Cocoa Beans
Quality beans determine the flavor of your chocolate. Choose well-fermented, properly dried beans and inspect them carefully. Remove any defective or moldy beans.
Your task is to sel ect and peel the beans before roasting. Inspect the raw materials: remove debris (dust, pebbles, remnants of pods) and discard damaged or moldy beans.
Pay attention to the uniformity of fermentation: too light or purple slices inside the bean may indicate under–fermentation - it is better to exclude such beans, as they will give an acidic or bitter taste. Store the selected cocoa beans in a cool, dry place until further processing.
- Storage Tip: Keep beans in a cool, dry place (~13–15°C, ~50% humidity).
- Beginner’s Hack: If you’re new to bean-to-bar, start with pre-cracked nibs to skip the roasting and winnowing steps.
Step 2:Roasting
Roasting is one of the key stages influencing the taste and aroma of the future chocolate. At this step, cocoa beans are subjected to heat treatment, during which characteristic chocolate notes develop: roasted, nutty, fruity flavors appear, bitterness and acidity decrease. In addition, after roasting, the beans are more easily crushed and peeled. The approach to roasting may vary, but for beginners it is optimal to use a conventional oven.
- Recommended Roast: 120–140°C (248–284°F) for 15–30 min, stirring every 5–10 min.
- Flavor Control: Lower temperatures (~120°C) preserve fruity notes; higher (~140°C) enhance deep, roasted flavors.
- Pro Tip: Use a cocoa bean and nut roaster for better consistency, as coffee roasters operate at different temperature ranges and may not be suitable.
Step 3:Crushing & Winnowing
Once roasted, the beans must be cracked open to separate the nibs fr om the shells. This can be done manually or with a cocoa bean crusher and winnower. Proper winnowing removes excess husk, ensuring that only pure cocoa nibs go into the melanger.

Continue the process until there are practically no shells left in your cocoa nibble. Ideally, peeled pieces of cocoa beans (nibs) are ~85% of the initial weight of the beans (losses of 15% or more are accounted for by the husk). The completely removed husk is the key to a good taste and consistency of chocolate. Now you have the basic raw materials for creating the chocolate mass.
- DIY Hack: Crack beans with a rolling pin in a plastic bag, then use a hairdryer to blow away the lighter husks.
- Quality Check: Ensure all husks are removed to avoid bitterness.
Step 4: Grinding & Conching in the Melanger
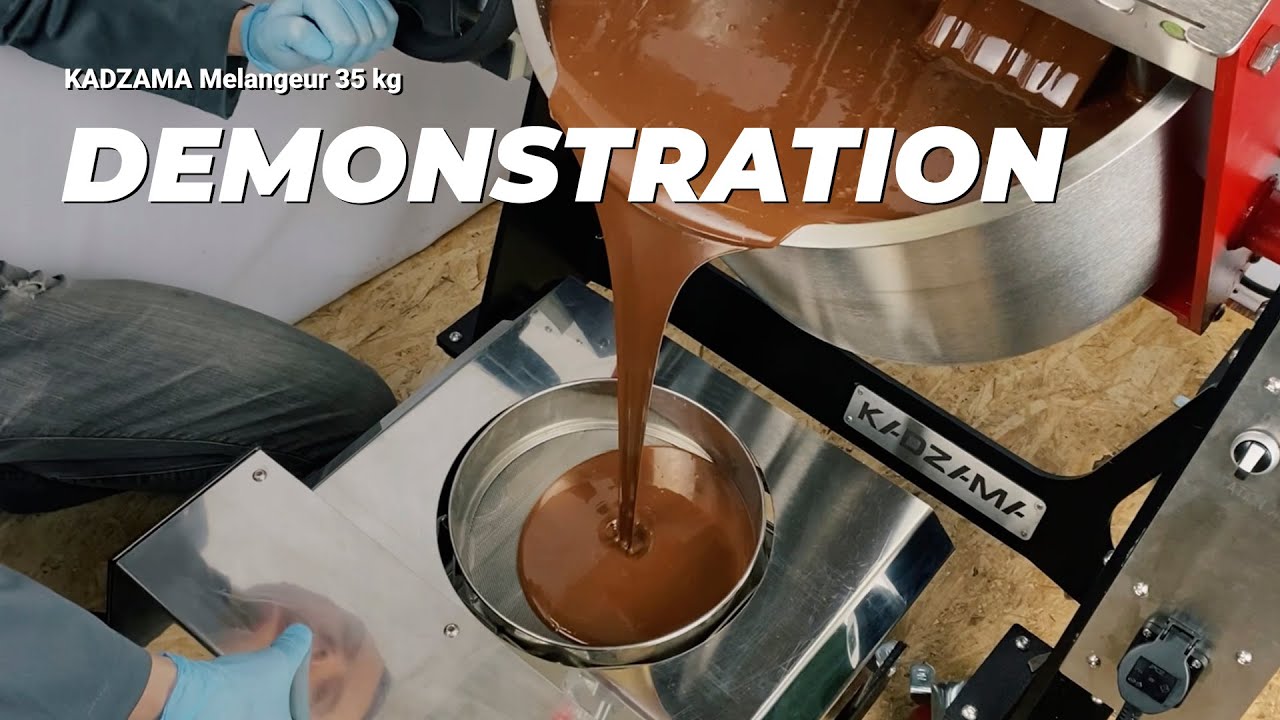
Once you have your cocoa nibs, it’s time to load them into your KADZAMA melanger. This is wh ere the transformation happens.
How the Melanger Works- Pre-grinding: Cocoa nibs start breaking down into a rough paste.
- Fine grinding: Over the next 48-72 hours, the particles reduce to below 20 microns, creating an ultra-smooth texture.
- Conching: Unlike basic grinders, KADZAMA melangers continuously mix and aerate the chocolate, improving flavor and removing unwanted acidity.
You can read more about how melanger works here
- It has a smooth, homogeneous texture with no gritty particles.
- The aroma and flavor have fully developed.
- The chocolate flows effortlessly, without graininess.
Step 5: Tempering Chocolate
Now that your chocolate is perfectly refined, it needs to be tempered to achieve the right texture and stability.
Tempering stabilizes the cocoa butter crystals, ensuring a smooth, glossy finish and a sharp snap when broken. Without tempering, the chocolate can develop a dull, streaky surface.
You can temper chocolate using:
- The seeding method – Adding pre-tempered chocolate to melted chocolate.
- Table tempering – Spreading chocolate over a marble slab to cool it down.
- Using silk - adding cocoa butter
Read more about silk method here
>Step 6: Molding
Once tempered, the chocolate is poured into molds to create bars or custom shapes. After cooling, it’s ready to be enjoyed.
Pour tempered chocolate into molds, tap to remove air bubbles, and cool at ~10–15°C (50–59°F).
- Avoid Condensation: Store in a dry place, not the fridge.
- Customization: Add nuts, salt, or spices immediately after pouring.
>Step 7: Storage and packaging
- Best Conditions: 14–18°C (57–64°F), 50% humidity.
- Shelf Life: Dark chocolate lasts up to a year; milk chocolate ~6 months.
- Pro Tip: Wrap in foil and place in airtight containers to prevent odor absorption.
Why KADZAMA Melangers Make the Difference
Not all melangers are created equal. KADZAMA melangers are trusted by professional chocolatiers because they offer:
- 3-in-1 Grinding & Conching – No need for separate machines.
- Patented Spiral-Grooved Stones – 30% faster particle reduction, better mixing.
- Reverse Function – Prevents ingredient jams and keeps production smooth.
- Adjustable Speed & Temperature Control – Full control over refining.
Start Your Chocolate Journey Today
With KADZAMA melangers, you’re not just making chocolate—you’re crafting a premium product with rich flavors and silky texture.
Choose the melanger that suits your needs and start your bean-to-bar adventure today.
Have questions? Contact us to learn more about how KADZAMA can help you turn your chocolate-making dreams into reality.
 Sending...