-
The appearance of the product may differ from the illustrations presented in this manual.
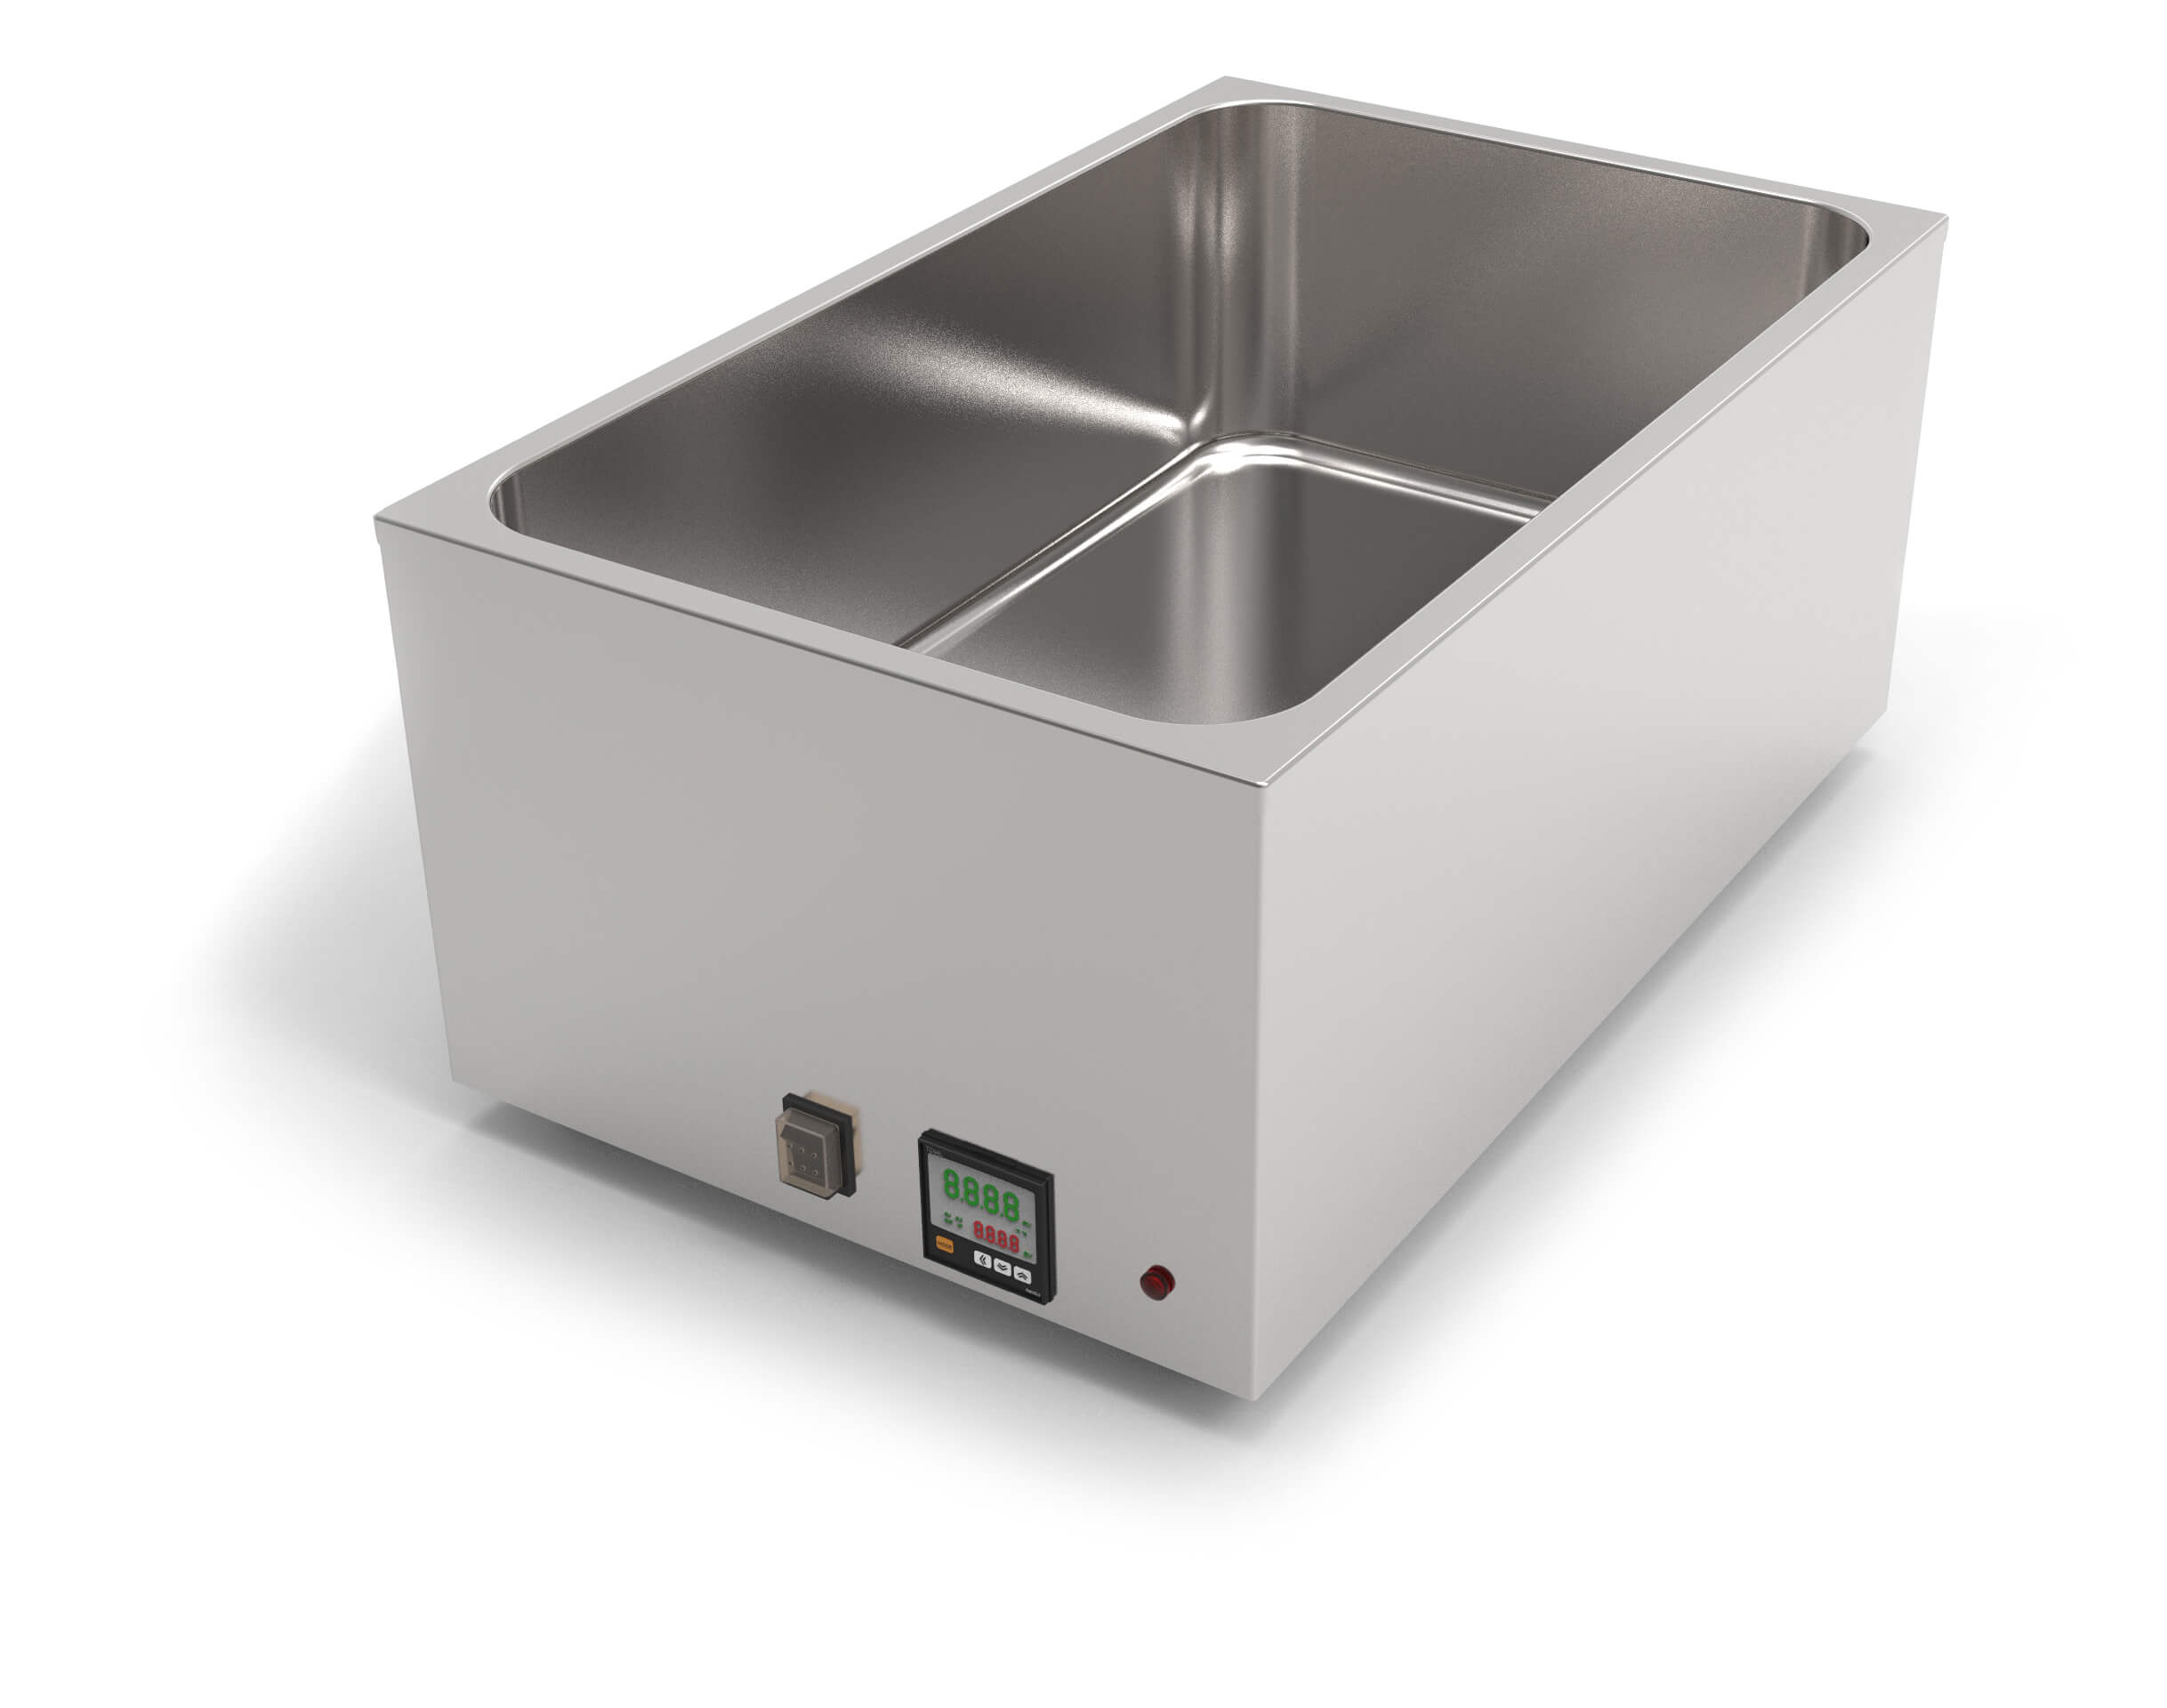
Chocolate tempering bowl 20 kg
Manual
This manual is designed for study the main technical characteristics, operating principle and rules of technical operation of chocolate tempering bowl 20 kg.
Before use carefully read the instructions below!
Improper use of the equipment can be a source of danger. By starting work with the device you confirm that you are fully acquainted with this manual and understood the rules of operation of the device.
KADZAMA Ltd appreciates your purchase and wishes you a pleasant work experience.
-
Purpose of the device
Chocolate tempering bowl 20 kg is designed for heating and tempering chocolate.
-
Specifications
Supply, [V] / [Hz] 220 / 50 Power, [kW / h] 0.2 Maximum loading capacity, [kg] 20 Minimum loading capacity, [kg] 5 Material Stainless steel Heating range, [°С] 20 — 50 Heating method Infrared Dimensional size (L x W x H), [mm] 540 х 340 х 240 Weight (unpackaged / in package), [kg] 8 / 9 -
Configuration
Chocolate tempering bowl 20 kg — 1 pc.
Lid — 1 pc.
Manual — 1 pc.
Warranty card — 1 pc.
-
Safety measures
4.1. Chocolate tempering bowl 20 kg is an electric appliance with a certain danger potential. When connecting the device to the electric grid, take all necessary precautions to avoid electric shock.
4.2. Chocolate tempering bowl must be connected to the power supply and operated only by trained personnel.
4.3. It is not allowed to operate the chocolate tempering bowl in the absence of electrical grounding («E» wire).
4.4. Chocolate tempering bowl should be used only for its intended purpose.
4.5. Use and store the chocolate tempering bowl in a place out of reach of children
4.6. Do not leave the chocolate tempering bowl switched on without supervision for a long time.
4.7. Do not operate the chocolate tempering bowl with wet hands.
4.8. Do not allow liquids inside the chocolate tempering bowl through the ventilation.
4.9. Do not use the chocolate tempering bowl at ambient temperatures below 10˚C and above 40˚C, and relative humidity above 80%.
4.10. When transporting the chocolate tempering bowl at sub zero temperatures, prior to first use it should be kept at room temperature for at least 1 hour.
4.11. Any maintenance should be carried out when the chocolate tempering bowl is disconnected from the power supply!
4.12. Repair or disassembly of the chocolate tempering bowl may only be provided with the assistance of qualified personnel of KADZAMA Ltd.
-
Before start
5.1. Remove the packaging.
5.2. Set the chocolate tempering bowl 20 kg on a flat hard surface, providing easy access to controls.
5.3. If the chocolate tempering bowl 20 kg was at sub zero temperatures for a long time, allow it to warm up to room temperature before turning it on.
5.4. Empty the container and load at least 5 kg of chocolate into it.
5.5. Make sure that the power supply is correct and that the power source is properly grounded. Plug the equipment into a 220V.
-
Control panel description

1 — Current PV temperature value display (red);
1.1. In RUN mode (working): set temperature SV.
1.2. In settings mode: displays parameters.
2 — SV installation display (green);
2.1. In RUN mode (working): current PV temperature value.
2.2. In settings mode: display the set value of the selected parameter.
3 — Indicators of control and alarm outputs 1 and 2;
3.1. AL1/AL2: if alarm outputs 1 and 2 are enabled, these indicators are lit.
3.2. OUT: when the control output is on, this indicator is on; if the cyclic/phase operating mode of the TCR/PCC (Type of Current Regulation with Phase and Cyclic Control) output is enabled, this indicator lights up when the measured MV value is greater than 3.0%.
4 — Auto tuning indicator;
In automatic setup mode, the AT indicator flashes once every 1 second.
5 — SET button (* in some cases can be called MODE);
Used to enter settings mode, switch to RUN (working) mode, switch parameters and save set values.
6 — Setting buttons;
Used in setpoint setting mode to toggle, increase, and decrease values.
7 — Digital input mode;
Press ˅ + ˄ for 3 seconds to control the selected function (start/stop, alarm output reset, auto tuning) in digital input mode (dl -t).
8 — Units indicator (°C/°F);
Displays the selected temperature units.
9 — Power ON / OFF button.
-
Exploitation
IMPORTANT! For correct equipment operation it is necessary to maintain a room temperature from 18°C to 25°C. Otherwise, the heating system will show a result higher, than the permissible one (we also draw your attention to the fact that deviation from temperature standards in the room can affect the quality of the product, since in most cases its properties also depend on the environment).
7.1. Turn on the tempering bowl with the ON / OFF button. The controller display must light up.
7.2. Temper the chocolate. There are many methods of tempering the chocolate with a steam table. The easiest tempering method is determined based on the working conditions and the skills level of the specialist. There are three ways to prepare chocolate below.
7.2.1. Method A — Sowing stable crystals:
— Heat up the chocolate to 42-45ºC (or other temperature recommended by chocolate manufacturer);
— Change the temperature value on the controller to fit the working temperature of the chocolate (33ºC or the value recommended by the chocolate manufacturer);
— Add 20-30% of chocolate pieces to the heated chocolate mass;
IMPORTANT! The pieces must be tempered and the same size. The larger the pieces, the fewer you need.
— Mix well until the pieces are completely dissolved. The pieces should melt completely at the moment the set working temperature is reached;
IMPORTANT! If the pieces are dissolved at a temperature of 34ºC and above, then there is a big chance that the chocolate won’t contain the required quantity of stable crystals. If the set temperature is reached, and the pieces are not melted, then cover the container with a lid and repeat stirring after 10-15 minutes until the pieces are completely dissolved.
— Collect the probe and check the quality of the tempering;
— Upon finishing the work, set the temperature to 40-50ºC, cover with a lid;
— To start the work, repeat all the steps again.
7.2.2. Method B — Classic tempering:
— Heat up the chocolate to 42-45ºC (or other temperature recommended by chocolate manufacturer);
— Change the temperature value on the controller to fit the working temperature of the chocolate (33ºC or the value recommended by the chocolate manufacturer);
— Remove a bit of chocolate from the container and pour it on a marble or granite table;
— Methodically mixing chocolate on a cold table surface, lower the temperature to 26-27ºC. The look of the chocolate can also serve as an indicator of a successful result: the surface of the mass should change its gloss to matte, the chocolate becomes much thicker.
— Collect the chocolate in a cup and return it to the tempering container. Mix thoroughly. The temperature of the chocolate mass must be within the working temperature range of the chocolate;
— Collect the probe and check the quality of the tempering;
— Upon finishing the work, set the temperature to 40ºC, cover with a lid;
— To start the work, repeat all the steps again.
7.2.3. Quick start:
— For a quick start the chocolate in the container must be already tempered. This technique is suitable if you plan to continue working in the near future (for example, the next day or in 1-2 days);
— At the end of the working day it is necessary to set the temperature on the controller to 36-37ºC (depending on the temperature in the room);
— Cover the container with a lid and leave it until the the next working day;
— Set the working temperature to 33ºC, mix the formed chocolate crust well with the warm chocolate on the bottom until smooth (the temperature should not be higher than 33ºC);
— Collect the probe and check the quality of the tempering;
— Upon finishing the work, set the temperature to 36-37ºC (depending on the room temperature).
7.3. Recrystallization of chocolate.
Recrystallization of chocolate is a process in which a mass of chocolate, being at the same temperature (for example, 33ºC), changes its viscosity to a more viscous one. After 1-2 hours of working with the prepared chocolate, the recrystallization process begins (appears as increased viscosity of the product). In order to return the chocolate to its normal state, it’s enough to evenly heat it with a heat gun to a temperature of 33.5-34ºC (or add hot chocolate with a temperature of 37-50ºC to it). The volume of added chocolate is determined empirically, based on temperature conditions and the degree of recrystallization.
IMPORTANT! When adding hot chocolate, the working volume in the bowl must be thoroughly and constantly mixed for uniform temperature distribution, and the temperature must also be continuously monitored with an external temperature measuring device (for example, a pyrometer).
7.4. Adding chocolate to the tempering bowl.
It’s much more efficient to keep the tempering bowl filled at least half of the maximum load. This allows you to ensure stable and long-term work with chocolate. In order to add chocolate to the bowl and not out-temper it, it must be hot (37-45ºC). It is also necessary to gradually and well mix the mass and control the temperature with a pyrometer (it should not exceed 33ºC).
-
Troubleshooting
8.1. Malfunctions checklist for tempering bowl.
If your tempering bowl does not start, follow these steps:
— Check the power supply cable, it must be undamaged and connected to the equipment correctly;
— The socket where the equipment is connected has a right voltage for the power supply parameters specified in the technical characteristics of the connected equipment (Your building may be completely de-energized, or the circuit breaker responsible for this socket is turned off in the junction box of the room);
— The equipment plug is connected to the socket correctly and completely;
— Switch on the equipment, make sure that the indicator on the controller lights up. The controller will display the actual temperature, which after a while will begin to rise up to the set one, it can be adjusted with the «up» and «down» keys;
— When turning on check all the inner walls of the equipment with your hand, they should begin to heat up. To check the uniformity of heating, you can stick a piece of masking tape on each of the walls and use a pyrometer to measure the temperature after turning on the bowl and letting it reach the set temperature (remember that the pyrometer cannot correctly measure temperature from reflective metal surfaces);
— If the bowl still continues to heat up or there are other deviations after reaching the set temperature, it’s recommended to do the initial setting of the controller;
— If all of the above conditions are met, and the equipment cannot be restored to work, please inform the KADZAMA manager about all the steps you have done for further consultation.
Initial parameter setting:
Details in this video
First you must unlock the settings, to do this use the relevant section below. Then turn on the device, press the MODE button on the controller and hold it until the PAr2 parameter appears on the screen, release the button.
Control:
Using the MODE button select the code, change the value with the «up» button, press the MODE button again to save the value.
A list of parameters and values for correct operation:
Code Meaning Note
In-t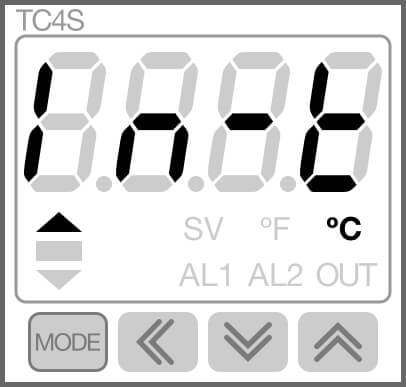
dPtL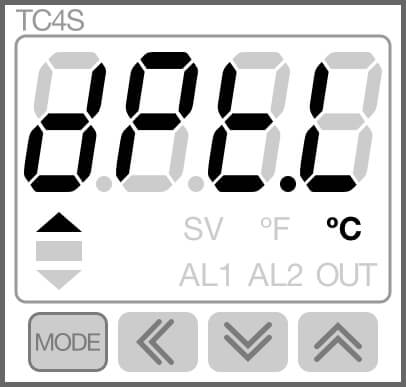
Temperature sensor
Unl t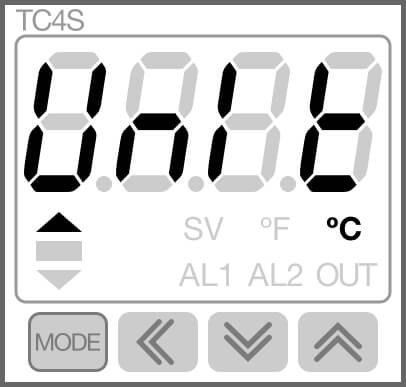
C°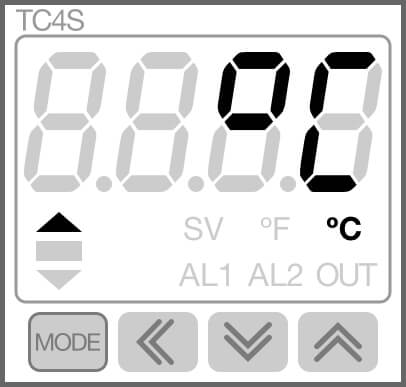
Temperature unit
L-Su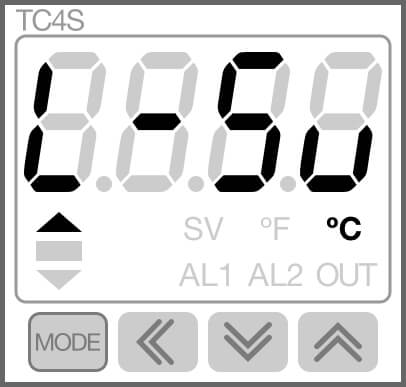
20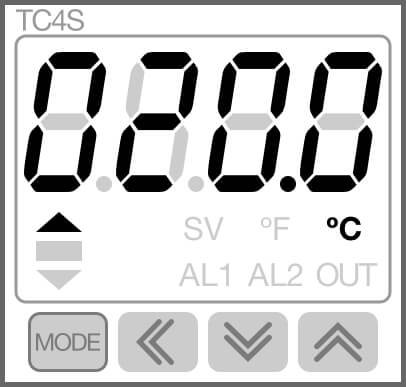
Lower temperature level
H-Su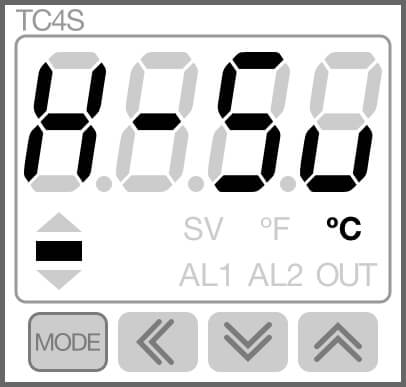
50
Upper temperature level
o-Ft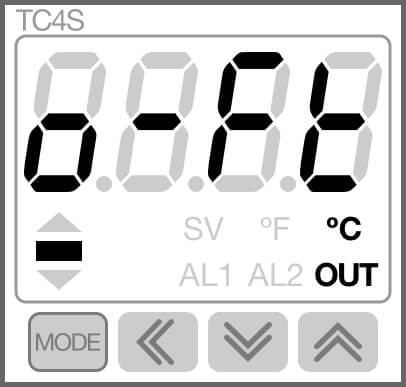
HEAt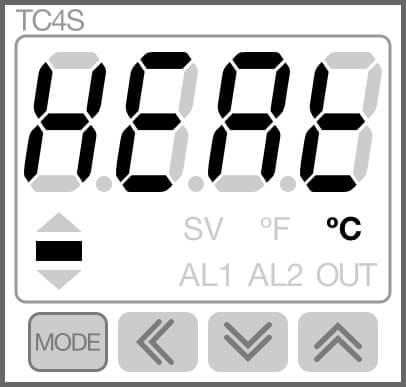
Operating mode (heating / cooling)
C-nd
Pl d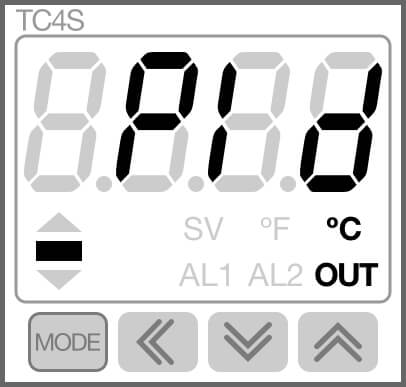
Regulation type
oUt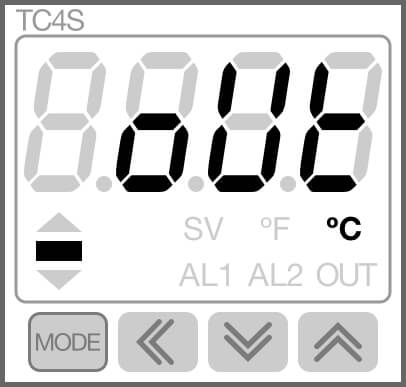
SSr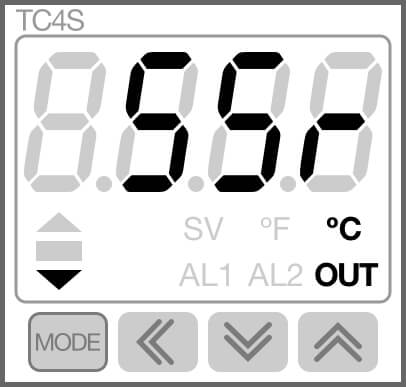
Solid state relay control selection
SSr.n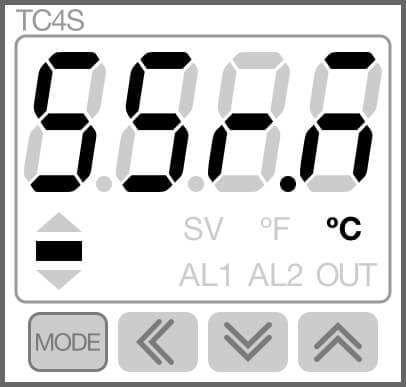
CYCL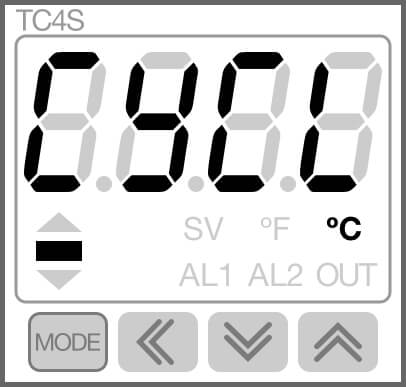
Operating mode (cyclic / phase) After entering all the parameters, press the MODE button again for 2-3 seconds to exit the setting mode, the temperature will be displayed on the controller.
8.2. Block / exit block.
Turn on the device, press the MODE button and hold it until you see the PAr2 parameter on the screen, release it.
Control:
Using the MODE button select the code, change the value with the «up» button, press the MODE button again to save the value. Find the «LoC» parameter using the «up» button and select «Loc2» (select the OFF parameter to exit), press the MODE button.
Code Meaning Note
LoC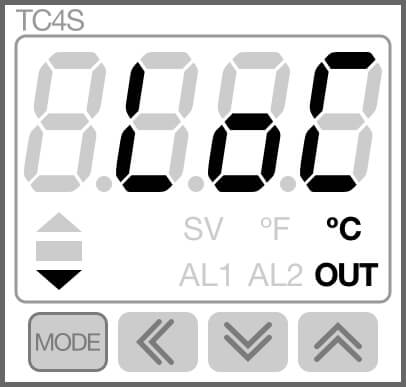
LoC2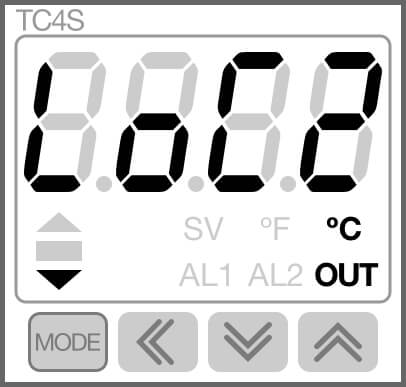
Block activation
LoC
oFF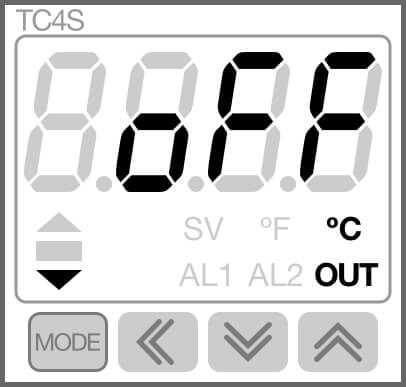
Block deactivation If all of the above conditions are met, and the equipment cannot be restored to work, please inform the KADZAMA manager about all the steps you have done for further consultation.
8.3. Exit the test mode.
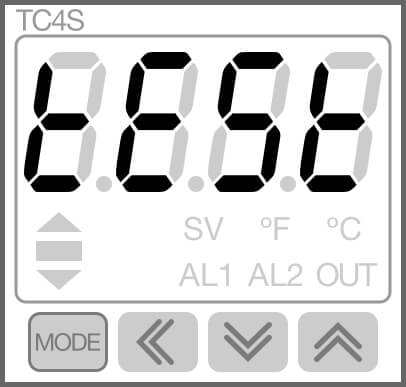
If you see TEST on the screen while working with the bowl, this means that the controller is now in test mode.
Press the MODE button to select the KEY parameter, then press the «up» arrow and the MODE button at the same time.
Press the «up» arrow until the display shows END.
Code Meaning Note
KEY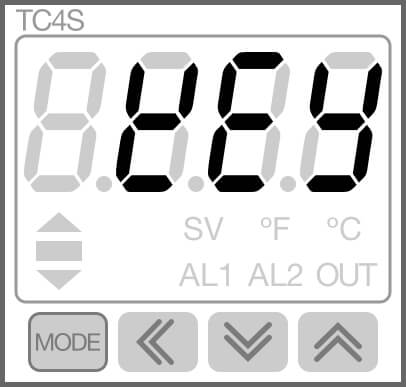
End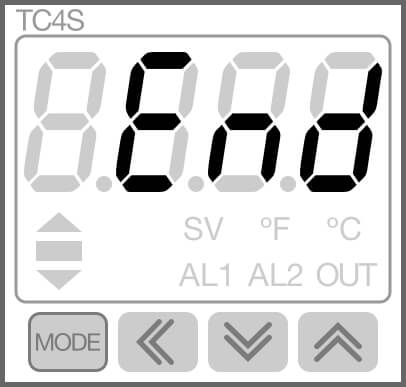
End of test mode Turn off the device, the controller should exit the test mode.
-
Maintenance and care
9.1. During the work keep the chocolate tempering bowl clean. Any maintenance should be carried out when the device is disconnected from the power supply and cooled to room temperature.
9.2. It is allowed to wipe the body with a clean, wet sponge or cloth.
9.3. Wash the inside of the bowl (if necessary) with warm soapy water first, and then rinse several times with clean water and wipe dry.
9.4. If the equipment won’t be used for a long time (more than 2 days), it is necessary to disconnect it from the power supply and clean it thoroughly. Repeat steps 9.2 and 9.3 before putting the bowl to work.
-
Warranty
The warranty period (as well as the terms of warranty service) are specified in the warranty card.
 Sending...